Grilling is one of the best ways to cook and enjoy food with friends and family, but keeping your grill clean after a BBQ is essential for maintaining its longevity and ensuring great-tasting food. A well-maintained grill ensures that your meals come out delicious and free of burnt residue from previous cookouts. In this guide, I’ll take you through the most effective methods to clean your grill, tips for maintaining it, and common mistakes to avoid.
Why Cleaning Your Grill is Essential
Cleaning your grill after every BBQ is not just about aesthetics. It’s a critical part of grill maintenance that has numerous benefits:
- Prevents food contamination: A dirty grill can harbor bacteria and old food particles.
- Enhances food flavor: Burnt leftovers can ruin the taste of fresh food.
- Extends the life of your grill: Regular cleaning prevents rust and wear.
- Prevents flare-ups: Grease and residue build-up can cause dangerous flare-ups.
Grill cleaning is often overlooked, but it makes a massive difference in grilling performance and food quality. Let’s dive into how to do it the right way.
1. Gather Your Cleaning Tools
Before you get started, make sure you have the necessary tools to effectively clean your grill. Here’s what you’ll need:
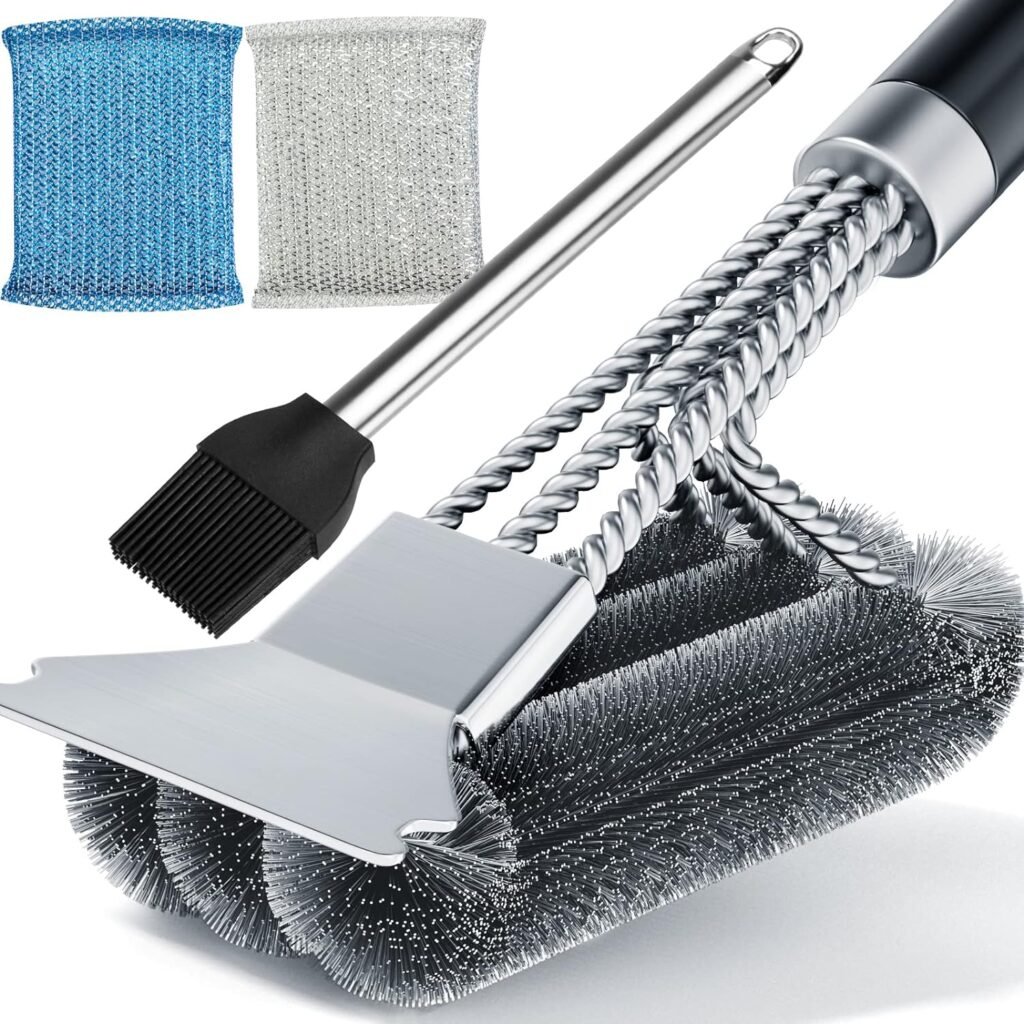
- Grill brush: A sturdy wire brush or a grill cleaning stone is essential for scrubbing grates.
- Dish soap or degreaser: A good degreasing dish soap will help break down grease.
- Bucket of warm water: For rinsing tools and wiping down surfaces.
- Sponge or cloth: For cleaning the exterior of the grill.
- Paper towels: Useful for drying and wiping off excess grease.
- Heat-resistant gloves: To protect your hands from hot surfaces.

Pro Tip: Invest in a high-quality grill brush with a scraper for stubborn grime. Brushes with stainless steel bristles or grill cleaning stones are both durable and effective.
2. Clean the Grates While Hot
The best time to clean your grill is right after cooking, while it’s still warm. The heat helps to loosen food particles and grease, making it easier to scrub away debris.
Steps to clean the grill grates:
- Turn up the heat: After cooking, turn up the burners for about 5-10 minutes. This will burn off most of the food particles.
- Scrub the grates: Using your grill brush, scrub the grates thoroughly while they’re still hot. Focus on areas with stuck-on food.
- Remove the grates (optional): If your grates are removable, take them off the grill for a deeper clean. Soak them in warm soapy water for about 10-15 minutes and scrub off any remaining residue.
Pro Tip: Avoid using a grill brush with loose bristles, as these can break off and end up in your food.
3. Clean the Burners and Heat Shields
Burners and heat shields are often overlooked during cleaning, but they play a vital role in distributing heat evenly and preventing flare-ups. Here’s how to clean them:
- Turn off the grill: Always ensure the grill is completely off and cool before cleaning the burners.
- Remove the heat shields: Take off the heat shields and scrape off any grease or debris using a brush or scraper.
- Wipe the burners: Use a damp cloth to wipe down the burners. If they’re clogged with grease, gently clean the holes with a small wire brush or a paperclip.
- Replace the heat shields: Once everything is clean, place the heat shields back in their original position.
Pro Tip: Regular cleaning of the burners will ensure even heat distribution and prevent grease fires.
4. Clean the Grease Tray and Drip Pan
Grease trays and drip pans are designed to collect excess fat and food debris, so they can get very greasy after a few uses. Cleaning them regularly is essential to avoid grease fires and unpleasant odors.
Steps to clean the grease tray and drip pan:
- Remove the tray and pan: Carefully take out the grease tray and drip pan from underneath the grill.
- Scrape off excess grease: Use a spatula or scraper to remove the thick layers of grease.
- Wash with soap and water: Soak the tray and pan in warm soapy water and scrub away the grease. Rinse thoroughly.
- Dry thoroughly: Make sure both the tray and pan are completely dry before placing them back in the grill.
Pro Tip: Line your grease tray with aluminum foil for easier cleanup next time.
5. Clean the Exterior of Your Grill
The outside of your grill needs just as much care as the inside. Grease splatters, dust, and debris can accumulate, especially if your grill is stored outdoors. Regular cleaning will keep it looking new and prevent rust.
Steps to clean the grill’s exterior:
- Use a damp cloth: Wipe down the exterior of the grill with a cloth dipped in warm, soapy water.
- Scrub gently: For stainless steel grills, use a non-abrasive cleaner to avoid scratches.
- Dry with a towel: After cleaning, dry the surface with a clean towel to prevent water spots and rust.
- Cover your grill: Always use a grill cover when it’s not in use to protect it from the elements.
Pro Tip: Avoid using harsh chemicals or abrasive pads on stainless steel grills, as they can damage the finish.
Pros and Cons of Cleaning Your Grill Regularly
Cleaning your grill has a range of benefits, but there are also some downsides that are worth considering.
| Pros | Cons |
|---|---|
| Ensures food safety by removing bacteria and old food residue | Takes time and effort to do properly after each use |
| Enhances flavor by preventing the transfer of burnt flavors | Requires the right tools for effective cleaning |
| Prevents rust and extends the life of your grill | Can be messy, especially when dealing with grease |
| Reduces the risk of flare-ups from grease build-up | If not done properly, you might damage the grill components |
| Makes grilling easier by preventing food from sticking | Need to be mindful of the materials used to clean, like wire brushes |
| Keeps your grill looking new and professional | Some parts may be tricky to clean properly without disassembling |
FAQ Section
Conclusion
Cleaning your grill is essential for maintaining its performance, ensuring food safety, and prolonging its lifespan. Regular cleaning, especially after every use, can prevent grease build-up, flare-ups, and rust. Following the proper techniques and using the right tools can make this task easier and more effective. Whether you’re a grilling pro or just getting started, these steps will help you master the art of grill maintenance. Happy grilling!